Friday, March 21, 2008

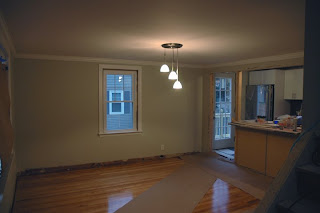
crown moulding in the kitchen:


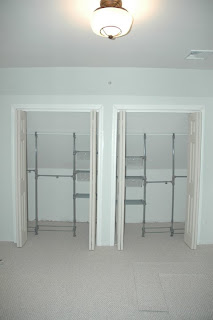
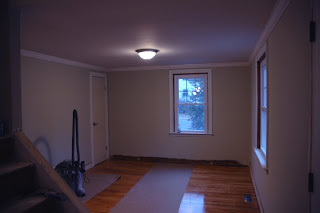
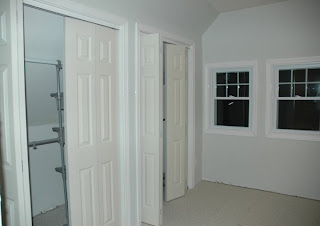
closet doors in the master bedroom (they need paint):


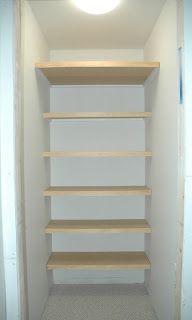
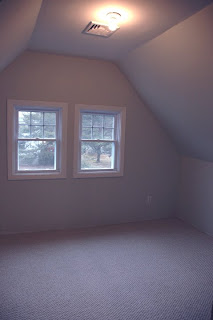
The closet in the guest bedroom is almost 4' deep, so we built some shelves in the back of the closet:


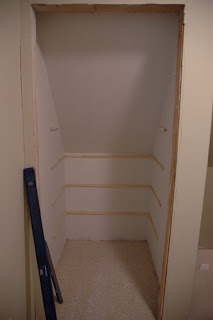
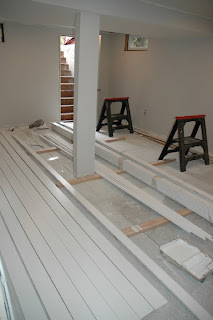
the linen closet will also get some built-in shelves...we started with the ledgers (ran out of particle board for the shelves!):

Thursday, March 20, 2008

Tuesday, March 18, 2008

trim + doors + stuff

installing the crown moulding-
dining room:


we are pre-painting all of the trim:


living room:
trim + doors


dining room:


hall:
trim + doors


living room:


2nd floor bath:


first floor bath:
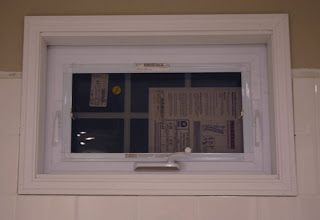
we trimmed the window with PVC moulding


Sunday, March 16, 2008

wow!

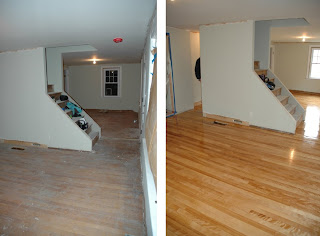
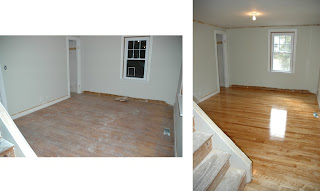
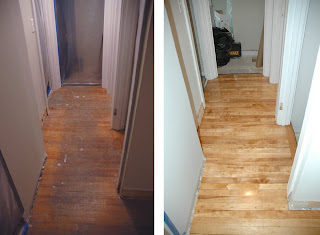
these floors were such a wreck- i didnt think that they were going to come out so good!


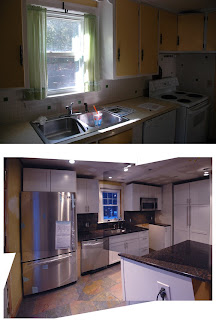
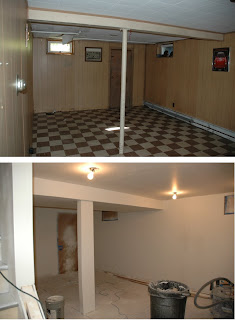
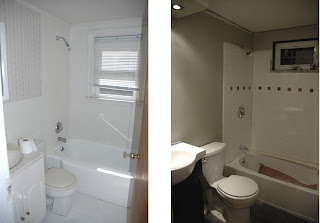
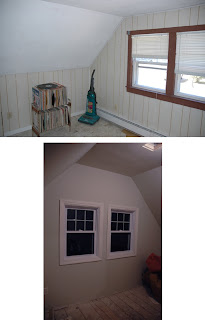
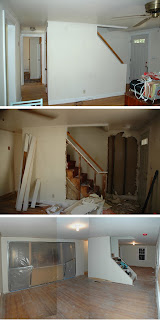
i tend to forget what state the house was in when we purchased it...here are some before photos

kitchen (ugh- i look at the photo and i am reminded of the smell!):


basement:


1st floor bath:


bedroom2:


1st floor stair/dining:

Friday, March 14, 2008

stay tuned for photos of the newly finished ge-or-geous hardwood floors!

Wednesday, March 12, 2008

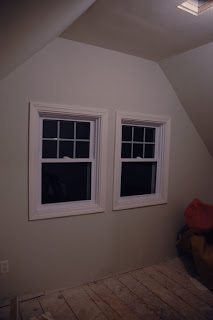
today we trimmed out all of the 2nd floor windows. we kept the existing casing on the 1st floor windows, so all that are left are the windows in the basement


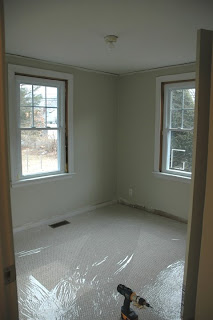
the hardwood floor refinishers are coming tomorrow...so we sealed up the kitchen, bath and bedroom to minimize the dust cleanup


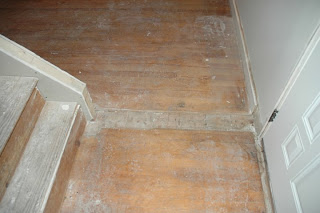
they also will have to patch the floor where the wall used to be


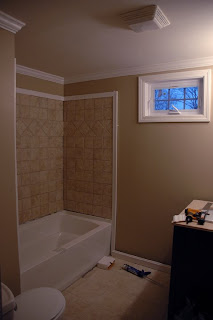
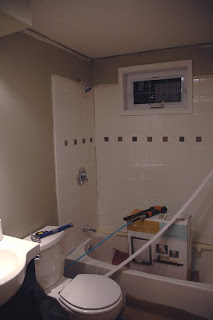
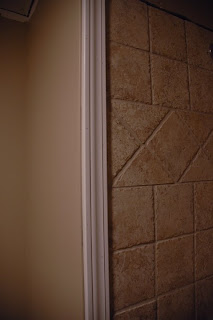
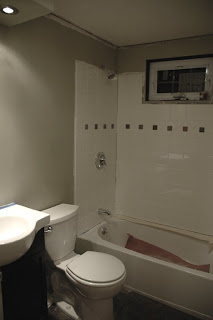
in the bathrooms, we decided to trim out the tub surrounds with vinyl casing instead of bullnose tile.
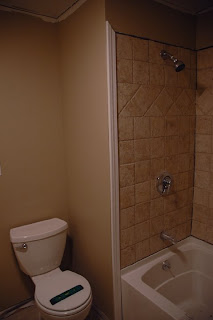


i know what you are thinking, but you really cannot tell that it is vinyl...at all!

and it is waterproof


we are also going to trim out the window that is in the first floor bathtub with the same vinyl casing.


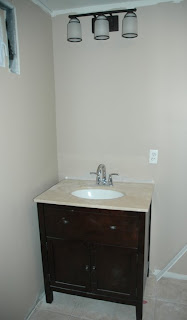
we installed the 2nd floor vanity light too... its kinda ugly, but it was the least offensive of the options in our target price- range

we have been trying to find decent affordable lighting...but it doesnt seem to exist!


so also tomorrow, we are having some trees removed from the property. a few are just dead and have lost alot of branches...one we just have to remove because it is in the middle of the whiffle ball field...i mean yard!

Tuesday, March 11, 2008

progress...

we are making headway- the paint has completely transformed the place!

we have decided to have the hardwood floors professionally refinished (up until recently, we thought that we were going to do it ourselves...but we are running out of steam for those large projects!) we got a great price from a company that was recommended by a friend...and they are going to start this thursday! it takes 3 days to sand, seal, polyurethane- sand, poly- and sand and poly again! so the floors will be finished on saturday and we wont be able to get into the house for those 3 days--wow...a vacation!

we have also selected the carpet (the same carpet that we used at the last house) and it will be installed next wed or thurs.

between the hardwood refinishing and carpet installation we will be installing the mouldings and doors--we might just make our easter deadline!

Friday, March 7, 2008

i have a great camera, i just dont know how to use it! so the paint colors are not coming across in the photographs...but here they are anyway!

the first floor bath...the color is called 'Lyndhurst Castle Sand' by Valspar (all paint is by Valspar that we bought at Lowes)

it is the same color that we are using in the kitchen/dining and living room, only darker. the kitchen/dining and living room color is called Bay Sands.

here is the 2nd floor bathroom. the color is Oregon Coast.


the 2nd floor bedrooms got Stony Path even though everything in this photo looks purple! the color is a more of a silvery-bluish-greenish-grey that changes color throughout the day (under different lighting conditions).


and we are going to paint the basement Weathered Wood!
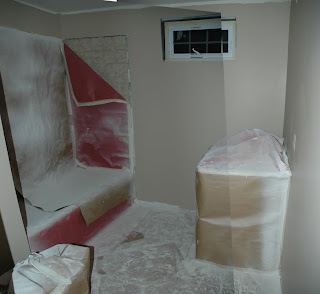

so this time around we decided to paint the ceiling/walls before we installed the moulding and trimwork...it has allowed us to move alot faster when painting because we dont have to cut in all of the edges that abut trim. the paint sprayer has been a time saver too!- and this time we are going to spray all of the moulding and trim before we install it.

Thursday, March 6, 2008

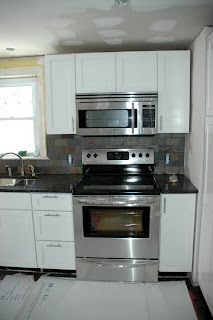
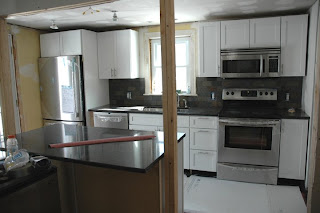
i know i havent posted in a while...we are currently painting and there is not much to see. but i realized that i didnt post the pictures of the new range that we installed last week! so here they are:
the range, microwave and dishwasher are all frigidaire...the fridge is LG. for this flip we decided to spend a little bit more on the appliances...only a few hundred more, but i think it makes a difference-they dont feel as cheap as the ones in the last house--which were the cheapest models that frigidaire provided.

we decided to return the expensive professional grade paint sprayer that we bought last year and never used...mainly because it came with a laminated card with instructions for the emergency room personnel "to prevent amputation..." we took it as a bad sign that the company went through the trouble to provide laminated medical instructions.

so we bought a more user-friendly sprayer that comes equipped with a backpack that stores the paint--painting is alot quicker now! we taped and covered everything that we dont want to paint, then spray primed the walls and ceilings, then we will spray the ceiling color and then we will roll the wall color.
Related Posts Plugin for WordPress, Blogger...